Choose Caulk for a Small Dry Interior Gap Before Opening the Cartridge
A decorative gap between suitable interior trim and a wall needs a product that matches the materials, expected movement and finish. This guide concerns small dry interior cosmetic gaps. It does not cover waterproofing, plumbing seals, fire stopping or structural joints.
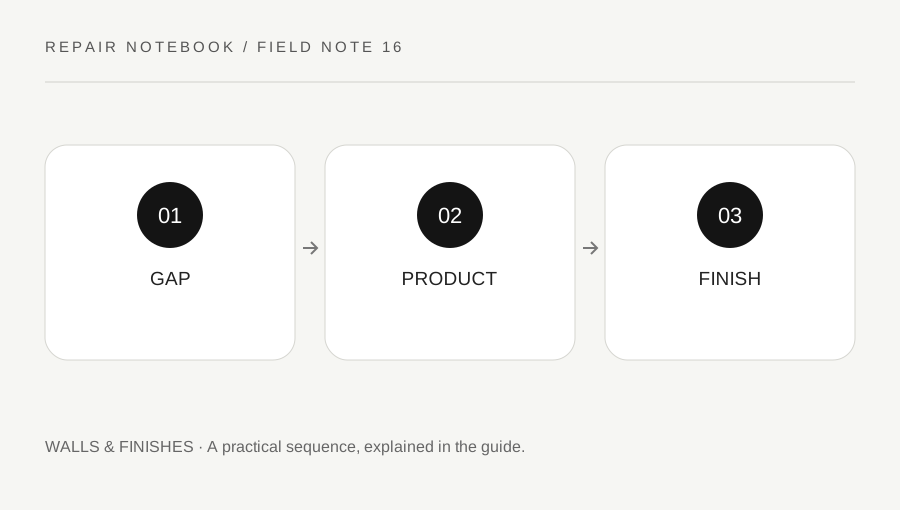
Original explanatory diagram. Numerical examples in this guide illustrate the reasoning; they are not a claim of hands-on testing.
Identify what the gap means
Inspect the area for movement, dampness and loose trim before choosing a sealant. A gap that keeps widening or a trim board pulling away may have a fastening or building-related cause. Covering it immediately can hide useful evidence. Confirm that the opening is not an intended ventilation, drainage or movement feature.
Measure the approximate width and depth at several points. Read the proposed product's permitted joint dimensions and substrate list. A narrow decorative gap and a deep void are different tasks; a cartridge is not a universal filler. Old unknown coatings also need assessment before scraping or sanding during preparation.
Check paintability and working instructions
Read the technical sheet for paint compatibility, application conditions, tooling time, paint-ready time and full cure. These terms describe different stages and vary by product. A label saying paintable does not mean every paint can be applied immediately, and a water-ready claim for a specific sealant is not general permission for wet-area work.
Check whether the joint needs a specified backing material or preparation system. Do not improvise with household paper or pack a large gap with sealant. If the joint falls outside the product's stated range, choose an appropriate system or qualified help. Keep the cartridge label available while working so the cleanup and handling instructions remain clear.
Plan a modest application
Protect nearby finishes and prepare the assessed surfaces as the manufacturer directs. A clean dry surface and controlled bead size make the task easier to inspect. Cut the nozzle only to the intended opening using a suitable safe method, then make a small test on an appropriate offcut if practical. A very large nozzle opening makes a fine decorative bead harder to control.
For an illustrative small trim gap, apply the compatible product within its stated joint dimensions and tool it during the permitted working time. Avoid repeatedly touching a bead after it begins to skin. Follow the product's cleanup method and ventilation requirements. Do not mix cleaners or use a solvent that damages the trim finish merely to remove a small smear.
Wait and inspect before painting
Observe the stated paint-ready and cure stages under the actual room conditions. Low temperature, high humidity or a deeper bead can affect performance relative to ideal examples, so consult the product guidance rather than assuming a clock alone guarantees readiness. Check whether the bead has pulled away, cracked or left an uneven profile before coating it.
After the finish is complete, inspect the joint during ordinary use. Recurring cracking can signal unsuitable movement capability, poor adhesion or an unresolved underlying issue. Record the product and joint conditions so the next decision addresses the cause. A cosmetic caulk bead should remain a small finishing detail, with waterproofing, fire resistance and structural functions handled by their own specified systems.
Check the cartridge before scheduling work
Read the product date and storage guidance before opening it. Material that has been stored outside its permitted conditions or has already cured inside the nozzle may not be usable. Do not dilute or mix it with another product to restore apparent flow. Plan enough working time to prepare, apply, tool and clean the small joint within the stated limits. Keep an appropriate waste container nearby and close or store leftover material only as directed. The remaining product should retain its identity and instructions; transferring it into an unlabelled household container makes the next application harder to assess.
A practical checklist
Tick items for your own use. This checklist is saved only in this browser.
Questions that come up
Can any silicone sealant be painted?
Do not assume so. Paintability and compatibility depend on the exact product and coating. Read both manufacturers’ instructions before purchase and test where directed.
Is paint-ready the same as fully cured?
No. Product instructions can specify different stages for tooling, painting, water exposure and full cure. Follow the relevant stage for the operation you plan instead of treating one time as universal.
Can I use this advice for a shower leak?
No. Wet-area sealing and waterproofing require an appropriate system and assessment of the leak source. A dry decorative trim gap is a different task with different consequences and specifications.
References & scope
Background references checked on 18 October 2026. The examples and practice exercises are original editorial explanations, not copied procedures or professional advice.