A Small Wall Hole: Decide What Needs Repair Before Filling
A small picture-hook hole in sound modern plasterboard is a different project from a spreading crack, a damp patch or damaged unknown material. Start by identifying the surface and the reason for the damage, then choose a compatible repair.
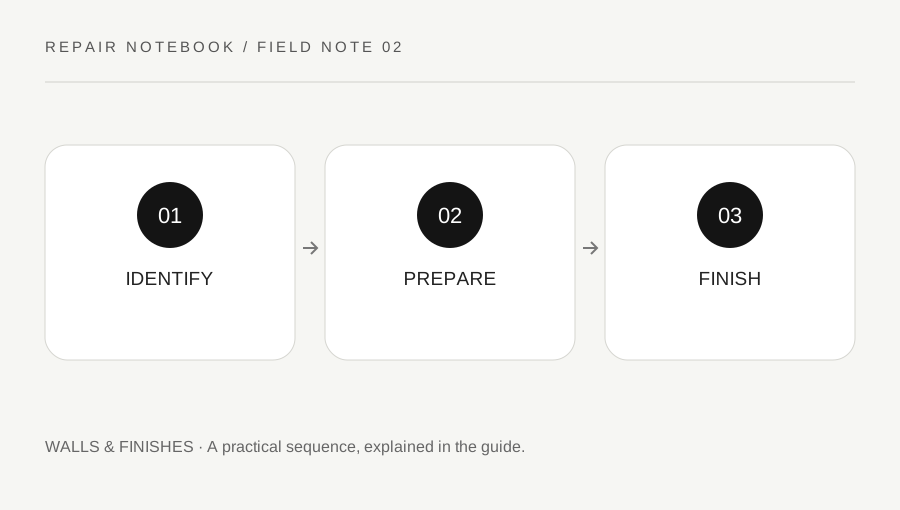
Original explanatory diagram. Numerical examples in this guide illustrate the reasoning; they are not a claim of hands-on testing.
Establish the limits of the job
Look at the whole wall, not only the hole. Note dampness, softness, staining, repeated movement and nearby cracks. If any of these are present, investigate the cause before covering the evidence. This guide is for a small shallow blemish in an otherwise sound surface. A large hole, a loose board or damage around a service outlet needs a different assessment.
Check the age and history of the finish before scraping, sanding or drilling. In the United States, pre-1978 housing can present lead-paint concerns; EPA recommends a lead-safe certified contractor for relevant renovation work. Other countries have different histories and requirements. Unknown textured coatings or suspected asbestos materials also require professional assessment before disturbance.
Choose a compatible repair system
Read the filler label for the permitted surface, maximum depth, drying conditions and whether a primer is required. A quick-drying decorative filler is not a structural fastener repair and should not be used to support a shelf. Gather a small filling knife, surface protection and the cleanup materials specified by the manufacturer. Use personal protection appropriate to the assessed materials and product.
If an old anchor remains, identify how it is designed to be removed. Do not pull hard enough to tear a large section of the wall. Do not drive a fastener deeper into an unknown cavity. Where removal is uncertain or involves drilling near concealed services, pause and get appropriate guidance.
Fill to the product instructions
For a suitable, assessed surface, remove only loose material using the method allowed by the product instructions. Clean the immediate area and allow it to dry. Press compatible filler into the small blemish, then draw the knife across the surface to leave a controlled layer. Follow the stated maximum thickness; deep fills may require multiple applications or a different repair product.
Allow the specified drying or curing time under the actual room conditions. A skin on the surface does not prove that the centre is ready for finishing. If the filler shrinks, apply another thin layer when permitted instead of loading the first application excessively. Keep leftover product sealed and label the repair date so later checks have a useful reference.
Plan a worked finishing example
Imagine three small picture-hook holes in a recently finished, assessed plasterboard wall. The chosen filler permits this depth and calls for a dry surface. You protect the floor, prepare each hole gently, apply a thin fill and wait the labelled time. Check with side lighting to see whether the repair is proud, hollow or level before moving to the finishing stage.
Where sanding is appropriate and the surface has been assessed as safe, use the product's method and control dust. Clean as directed before priming or painting. A localized patch may still show because its texture or absorbency differs from the surrounding wall. Test a small area and be prepared to repaint a larger logical section for an even appearance.
Check the result after it settles
Examine the repair after the full finish has dried, in both daylight and the lighting normally used in the room. A faint colour difference does not mean more filler is needed; it may be a paint-match or sheen issue. A crack reappearing through the same patch suggests movement or an unresolved cause and deserves a fresh assessment.
Record the filler and paint details for a later touch-up. Do not keep sanding an unknown coating in pursuit of a perfect blend. If the wall becomes soft, damp or unstable, stop cosmetic work. A modest, well-understood repair is preferable to hiding a fault that continues behind the finish.
A practical checklist
Tick items for your own use. This checklist is saved only in this browser.
Questions that come up
Can filler hold a new shelf screw?
Ordinary cosmetic filler is not a load-rated anchor system. Plan the shelf fastening separately for the wall construction and intended load, using suitable manufacturer guidance or professional help.
Why does a patch show through paint?
Different texture, porosity, paint colour or sheen can make a repair visible. Check the primer recommendation and test the finish. More filler is useful only when the surface shape itself needs correction.
Should every small hole be sanded?
No. Use the selected product’s finishing method and first assess the existing coating. Sanding can create hazardous dust on unsuitable surfaces. Unknown old finishes require a different approach before any disturbance.
References & scope
Background references checked on 18 October 2026. The examples and practice exercises are original editorial explanations, not copied procedures or professional advice.