Make a Useful Replacement-Part Record Before Going to the Hardware Shop
A clear part record saves repeated guesses. Photograph the component in context, capture the label and record dimensions with named reference points. This is especially useful for small cabinet hardware and removable screen fittings that have many near-identical versions.
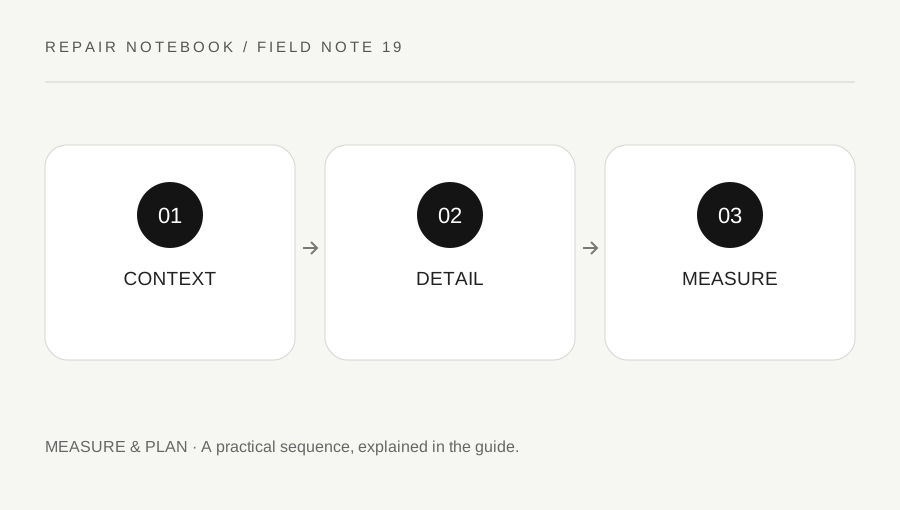
Original explanatory diagram. Numerical examples in this guide illustrate the reasoning; they are not a claim of hands-on testing.
Photograph the whole arrangement
Take one image showing the component in its normal position and another showing its immediate attachments. Include orientation in a written note: inside face, hinge side, top edge or drawer rear. A close-up without context can make a left-hand and right-hand version look indistinguishable.
Do not remove heavy or safety-related parts simply for a clearer photograph. Use safe accessible views and the maker's documentation. Keep account details, house keys, personal paperwork and other private items out of images you intend to share with a supplier. Good repair documentation is precise without exposing unrelated information.
Capture identifying details
Photograph the maker name, model number and any markings at a readable angle. Transcribe them into a note and check the characters against the image; an O and a zero can easily be confused. Record the furniture or window model as well as the small fitting where possible.
Describe the symptom separately from the part identity. “Mounting screw turns without gripping” is more useful than “hinge broken,” because the latter may assume a diagnosis not yet established. Note whether the component is cracked, loose, missing or merely misaligned. The supplier can then distinguish a replacement-part request from a question about adjustment.
Measure with a defined reference
Use a ruler or suitable caliper and name what each measurement covers. Overall width, mounting-hole centre spacing, frame thickness and under-head screw length are different dimensions. Include the unit and a small sketch. Avoid placing a ruler at an angle in a photograph and expecting the supplier to infer an exact size.
Imagine a cabinet pull with two screws. Your record includes the maker marking, overall length, mounting-hole centre spacing, panel thickness and photographs of both front and rear. The centre spacing is particularly important for matching the existing holes, while overall length describes appearance and clearance. Labeling both prevents a plausible-looking but incompatible order.
Confirm the proposed replacement
Send or take the record to an appropriate supplier and ask which specification they used to identify the part. Compare material, dimensions, orientation, fasteners and intended use before purchase. A visual resemblance alone is not confirmation of load rating, compatibility or safety function. Keep special or certified hardware within its manufacturer's replacement system.
When the new part arrives, compare it before altering the original installation. Keep packaging and order details until fit is verified. Add the final part number and outcome to the record. This turns one successful repair into a reliable reference for the next time, while a rejected near match remains clearly identified rather than being mixed into an unlabeled drawer of spare hardware.
Use filenames that preserve context
Name images with the component and view, such as cabinet-left-hinge-label or screen-top-retainer-inside. Keep the measurement sketch in the same folder and date the record. A small table can list dimension name, value, unit and measuring reference. Mark estimated values clearly rather than presenting them as exact readings. When a supplier confirms a replacement, save that response alongside the final part number. If you later update a dimension, retain a clear revision note so an older photograph is not mistaken for the current specification. Simple organization is especially useful when several similar fittings are being compared.
A practical checklist
Tick items for your own use. This checklist is saved only in this browser.
Questions that come up
Is a photo with a ruler enough?
It helps but should accompany written dimensions and named reference points. Camera angle can distort apparent size, and the supplier needs to know whether you measured overall size, hole centres or another feature.
Should I diagnose the problem in the part request?
Describe observed behavior first and keep any suspected cause separate. A precise symptom helps the supplier decide whether adjustment, a fastener or a complete replacement is appropriate.
Why keep the rejected part information?
Record why it did not fit so the same near match is not ordered again. Keep it clearly separate from the confirmed specification and follow the supplier’s return process where available.
References & scope
Background references checked on 18 October 2026. The examples and practice exercises are original editorial explanations, not copied procedures or professional advice.