Set Up for a Small Household Repair: Support, Light and a Clear Stopping Point
A modest repair is easier when the work area is ready before a screw is removed or a product is opened. Choose a task within reach and skill, protect the surface and decide what evidence would make you stop and seek the correct help.
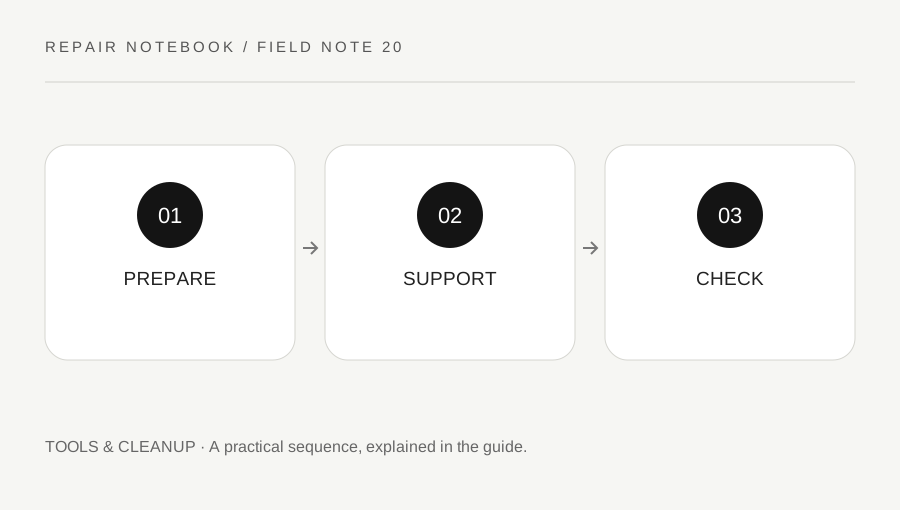
Original explanatory diagram. Numerical examples in this guide illustrate the reasoning; they are not a claim of hands-on testing.
Define one observable task
Write the symptom and the intended small outcome. Examples include identifying a loose cabinet knob fastener, measuring a replacement bumper or checking an accessible insect-screen frame. Keep the scope concrete. “Fix the whole kitchen” mixes too many materials and mechanisms to support a controlled first step.
Read the component and product instructions before gathering tools. Check whether the task involves heavy loads, stored spring force, concealed services, hazardous coatings or a safety function. Electrical, gas, plumbing, structural and hazardous-material work fall outside this journal's small-repair scope. A clear decision to use the appropriate professional is a useful outcome, not a failed repair.
Prepare support and protection
Clear nearby contents and provide a stable protected surface for removed small parts. Arrange good light so screw recesses and labels are visible. Keep children, pets and unrelated activity away from the immediate area. Do not balance a door or drawer where it can fall while you search for another tool.
Use suitable help for awkward components and follow furniture anti-tip guidance. Avoid standing on chairs or leaning out of windows for access. Protect finishes with compatible materials and keep liquids away from vulnerable board edges. Separate clean replacement parts from dusty removed hardware so washers and small fittings are not lost in the cleanup.
Gather a narrow set of appropriate tools
Choose the correct hand screwdriver or bit, a measuring tool, a soft cloth and any product-specific applicator the instructions require. More tools do not automatically make the task safer. An improvised blade, oversized driver or random solvent can create a second repair while you are investigating the first.
For a worked knob inspection, photograph the front and rear, support the knob, check the screw specification and keep any washer in a labeled container. If the screw turns without gripping, stop and inspect the thread or material. Do not move immediately to a power driver, glue and a longer screw just because they happen to be in the toolbox.
Retest and restore the area
Make one permitted change at a time and test normal movement after each. Keep a note of the original condition and what changed. If the result is unclear, restore a safe state and obtain the missing information instead of stacking experiments. Damage, unexpected resistance or a component that no longer supports itself are reasons to stop.
At completion, verify that catches, stops and intended fasteners are secure. Clean up according to product instructions and store materials safely. Return contents only when the component is ready for normal use. Record the successful part or method, including any drying or setting time still outstanding. A small organized repair leaves both the object and the work area understandable to the next person who uses them.
Plan the end before opening products
Read how each product and waste material should be handled after the task. Arrange a suitable container for used tape, small sharp parts and any cleanup waste rather than leaving them on the floor. Keep reusable screws and washers separate from discarded components. If a product needs curing time, leave a clear note for other users and maintain any needed protection without blocking exits. Return tools to storage only after checking that the workpiece is secure. Planning this final stage at the start avoids a successful small adjustment being followed by a missing fastener, an accidental contact mark or unsafe access.
A practical checklist
Tick items for your own use. This checklist is saved only in this browser.
Questions that come up
Do I need a large toolkit to begin?
No. Start with the correctly specified tools for one suitable task. A small set that fits the hardware is more useful than a large collection of improvised substitutes.
When should I stop a small repair?
Stop when unexpected damage, resistance, unstable support or an unclear safety function changes the task. Obtain the correct instructions or qualified help before making a more invasive change.
Why record an unsuccessful attempt?
A clear note of the symptom and controlled change prevents repeated guessing. It also gives a supplier or professional useful evidence without claiming that an unverified diagnosis is established.
References & scope
Background references checked on 18 October 2026. The examples and practice exercises are original editorial explanations, not copied procedures or professional advice.