Painter’s Tape: Match the Surface and Plan Removal Before Painting
Masking works best when the tape suits the surface and its permitted application time. A stronger adhesive is not automatically better. Check the coating, choose the specified tape and test before masking an entire room.
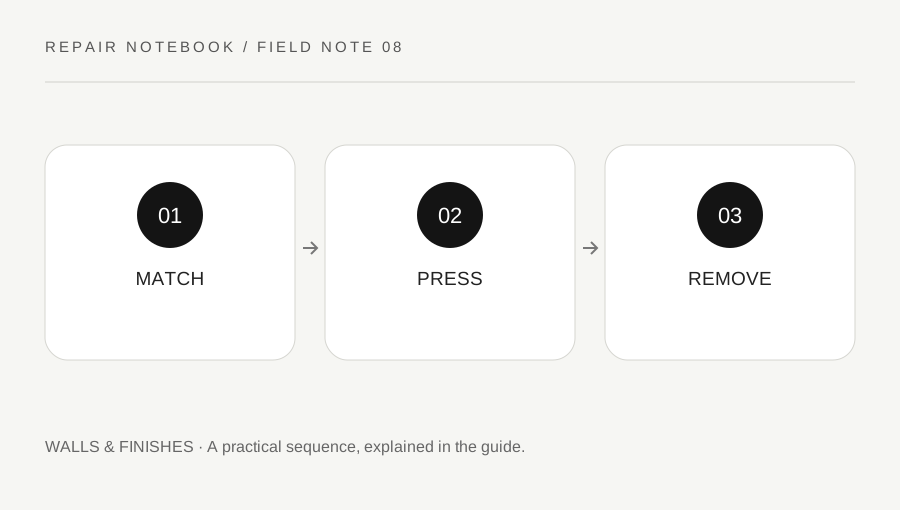
Original explanatory diagram. Numerical examples in this guide illustrate the reasoning; they are not a claim of hands-on testing.
Read both product instructions
Identify the surface you will tape: cured painted trim, a delicate wall finish, glass and unfinished wood can need different products. Read the tape label for compatible surfaces, application conditions and clean-removal time. Read the paint instructions as well, including how long a new coating must cure before anything is attached to it.
Tape advertised for one use is not a universal protective film. A delicate-surface product and a high-adhesion exterior product solve different problems. If the existing coating is loose or poorly bonded, tape can expose that weakness. Unknown old paint also needs assessment before any action likely to disturb it.
Prepare a small trial area
Make the surface clean and dry using a compatible method, then apply a short trial in an inconspicuous place. Press the edge as the tape manufacturer directs without stretching the strip. Stretching can encourage lifting or an uneven line. Avoid bridging a deep recess where the tape cannot contact the surface.
Remove the trial according to the product guidance and inspect for lifting, residue or finish change. A trial cannot guarantee every part of an old surface is equally sound, but it can reveal an obvious incompatibility before the whole room is masked. If the trial damages the coating, stop and choose another protection method.
Mask only the intended boundary
Use manageable lengths and align them deliberately. Press the paint-side edge as directed so there is continuous contact. Cover nearby surfaces with suitable protection rather than expecting a narrow strip to catch every drip. Keep tape away from ventilation openings and moving hardware where removal could become difficult.
Avoid loading paint heavily against the tape edge. Read the coating and tape instructions for application and removal timing; there is no single rule suitable for all combinations. Record when the tape was applied so an overnight delay does not inadvertently exceed its permitted time on the surface.
Work through a trim example
Imagine painting a wall beside sound, fully cured trim. You identify the trim coating, select a compatible tape and test a short piece. After protecting the floor, you apply the tape without stretching and press its edge. You paint with controlled strokes rather than flooding the boundary.
When the stated removal stage arrives, peel slowly using the specified angle and direction. If the finish begins lifting or the edge resists unexpectedly, stop and consult the maker's removal guidance. Do not yank harder or scrape through an unknown coating. Correcting a small problem now is easier than repairing a long torn paint edge.
Inspect and learn from the edge
After removal and full drying, inspect the line under normal light. Bleed beneath the tape can relate to surface texture, poor contact, excessive paint or an unsuitable product. Lifting can relate to weak underlying paint, wrong timing or excessive adhesion. Those are different causes and call for different changes next time.
Keep the tape name, surface type and outcome in your decorating notes. Dispose of used materials as directed. When a surface repeatedly fails even with an appropriate test and technique, reassess the coating itself. Tape helps define an edge; it does not repair adhesion or make a fragile finish strong.
A practical checklist
Tick items for your own use. This checklist is saved only in this browser.
Questions that come up
Should tape always be removed while paint is wet?
Follow the specific tape and coating instructions. Products and conditions differ, so a universal timing rule can cause problems. Plan the removal stage before painting and stay within the tape’s permitted time on the surface.
Why did the old paint lift?
Possible causes include weak existing adhesion, incompatible tape, insufficient cure or unsuitable removal timing. Stop and assess the coating rather than switching automatically to stronger tape.
Can I leave tape up until next weekend?
Only if the product permits that duration on that surface under the actual conditions. Record the application time and consult the label; clean-removal windows are not identical across products.
References & scope
Background references checked on 18 October 2026. The examples and practice exercises are original editorial explanations, not copied procedures or professional advice.